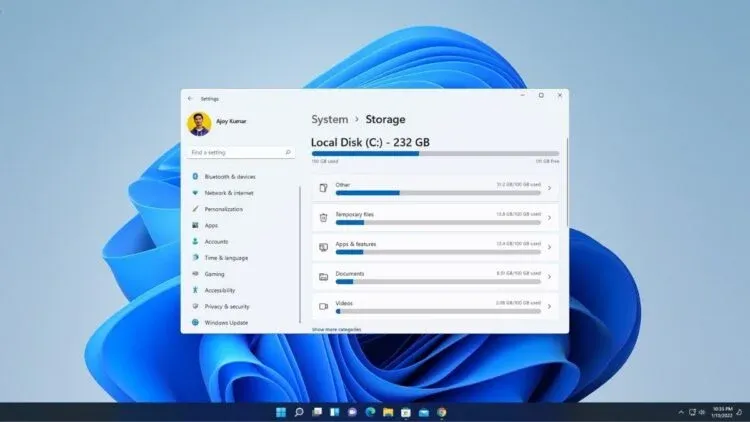
Eliminating unused temporary files from your computer will clear up space. These files could occupy a sizable portion of your hard disk space. The Settings app, the Disk Cleanup tool, Storage Sense, and other straightforward approaches are just a few of the ways that Windows 11 makes it easy to clear these temporary files. The system and programs create temporary files as a means of temporary storage during installation, updates, and error reports. They have a tendency to assemble and fill up a lot of room over time. By deleting these files, you can increase performance and keep your computer from running out of storage. Anyway, let's explore the many approaches to deleting temporary files on Windows 11.
Delete Temporary Files on Windows 11: Steps
On Windows 11, you can erase temporary files using a variety of techniques. Let's examine each of these approaches individually to see which is best for you.
1) How to Remove Temporary Files from the Settings App
- To launch the settings app, use the Windows key + I.
- Click storage under the system heading.
- Click on the Temporary Files option under the storage options to access it.
- Select "remove" after selecting each folder from which you want to delete the associated files.
2) Disk Cleanup should be used to remove temporary files.
Disk cleanup is the most traditional method for getting rid of temporary files, including those left behind from Windows upgrades. Learn how to utilize disk cleanup to delete temporary files by following the procedures listed below.
- Disk cleanup can be found by using the search bar's search icon.
- Next, pick drive C because we want to get rid of the temporary files.
- Select all of the folders you want to remove, then click OK and watch for the removal to occur.
Note: Click on the system files, then select all the folders, and then click "ok" if you want to delete the system files.
3) Using Storage Sense, automatically delete temporary files
The storage sense is another great trick that makes erasing temporary files much simpler and easier. Although it was first launched with Windows 10, the storage sense feature has seen some slight improvements with Windows 11. Do keep in mind that it will clear the temporary files automatically after based on your configuration.
- Activate the settings.
- The system says the Storage, please.
- Locate storage, then click it.
- Set up Storage Sense's settings for temporarily removing data right away.
4) Using CMD, remove temporary files
Whether you like it or not, CMD is older than disk cleanup. In fact, everything is much simpler to perform in CMD if you know the commands to go around, and that includes clearing temporary files.
- To access the taskbar's search box, press Windows + S.
- then perform a CMD search, then launch it as Administrator.
- The next step is to run this command to remove the temporary files.
del /q/f/s %TEMP%\*
5) Using a Bash script, remove temporary files
The last technique I'd like to discuss is utilizing a bash script to delete temporary files permanently. However, the first step is to write a better script that you may use whenever you choose.
- Start Notepad.
- Press Ctrl + Shift + S after pasting these codes.
rd %temp% /s /q
md %temp%
- Regardless of the file's name, ensure sure it ends in.bat.
- When the file is saved, it will appear like a script; simply double-click it and wait for the task to be completed.
Conclusions
These are the five methods you can employ to quickly delete temporary files on Windows 11 or 10. Please share any more system cleaning techniques you employ in the comments area.


Thanks for the tips. My PC was running slow but when I deleted the temp files, it started running smoothly.
ReplyDeleteThanks Morgan 🙏🙏
It's on point
DeleteIt was straight to the point, thanks for the tip
ReplyDelete